Tuesday, August 16, 2011

Lovely Closet Project - DONE


You may have thought that I was about through with this front closet... ready to move on to other parts of my home.  
Well, I wasn't.  Not quite.   
Something about this closet keeps drawing me in to keep after the vision I began with.  Part of the draw has certainly come from my hope to make my home both orderly and lovely, but part of the draw to this closet was the safety to experiment with a small, behind-closed-doors {easy to hide} space.


 I mentioned before that I wanted to paint the closet as we never did when we moved in. I also wanted to try my hand at some stenciling.   Like I said, this was a nice, little safe place - good for trying something new without the fear of making a mess!

 I picked up this stencil with my 40% off coupon at Hobby Lobby.  


Now I will not say that it was easy to work with.  The instructions say to spray the back of the stencil with adhesive spray - well I didn't read that until I was ready to start painting, so I made do with masking tape.  But I don't think the adhesive would have made it that much easier.  The instructions neglect to say how to manage corners, which proved very tricky.   Again, I was very glad to be in a small inconspicuous place.  It wasn't impossible, but I would be wary to try "out in the open" esp. where corners wouldn't be covered by furniture or curtains...

I used this little, high density sponge, roller kit from Lowes, which I originally {and still do} intended to use for painting bath and laundry room cabinets.  It worked quite well.


A few hours and a bit of sweat later, I ended up with this.


And...just to remind you from whence we came - here's the "Before" picture from way back when I first confronted my poor, neglected front closet.


Yes, we've come a long way. ;)

And the "After".


Something about the hidden surprise of those colors and the pattern just feels meant to be.

It's making me pretty happy.

And now, I think I can say with confidence that
the Lovely Front Closet Project is officially D.O.N.E. :)


See more of our home {HERE}


Sunday, August 14, 2011

Sweet Old Dolls


I found this little group of dolls at a garage sale last week  - $11 for all three.


They're in rather sad shape, and when I first saw them laying in the cardboard for sale box, I immediately thought of Beth's sweet little forgotten dolls in Little Women - the worn and torn dolls that Beth takes in and cares for when her sisters throw them out.


In the story, she creates a home for infirm dolls and repairs them as well as she can without using a needle, which might hurt them.


I couldn't very well leave them there in that box, so I brought them home and think they will live quite happily in the Twin's Nursery.  

Now, I'm thinking it would be so lovely to read Little Women again - it's been so long... 
I just might do it.


See Today's Post {HERE}
"Lovely Closet Project"


{Linking to Southern Hospitality & Life Made Lovely}


Friday, August 12, 2011

Quick Change-It-Up Photo Gallery


Last week I did a little tweaking on my easy change-it-up photo wall I first showed you last spring.  
It involved taking the glass and backing out of a collection of frames, hanging them on the wall and taping a picture inside.  The objective being a nice photo display in which you can change out the photos without any hassle.


Firstly, I was never too keen on that light yellow - that wall gets a lot of light and it always looked washed out.  So I painted it one shade darker - the color that is in our family room.
This wall is a heavy traffic area, so it was nice to wash up and get clean and fresh again anyway.

Also after having several frames get knocked down - as they were just hanging on a nail -  I added some tacky gum to make them more stable - much better.


And I just put in new summer pictures!  Remember that I add a white border to the picture to give it a more finished, matted-type look.  You can add this border on the actual photo-developing site (such as Walgreens) but keep in mind that this border will just be laid right on top of the photo, cropping a bit off the edges.  If you want to keep the edges you can add a white "frame" using Picnik.


Now here's the wall all fresh and fun - no glass cleaning required!


See more of our home  {HERE}


Thursday, August 11, 2011

Update on the Alarm Clock Situation


Awhile back I told you about my decision to finally purchase this alarm clock from Pottery Barn.  It was a a bit of a splurge, but I thought it was exactly what I wanted....

But the other week - four months later - I came across this little Timex lovely at the thrift store for just $3.99. 


A nice feature about this one is that there's a button in the back that you push to make the face light up.   

And truth be told, it's a little hard to read the glowing hands on the Pottery Barn model without my contacts in the middle of the night.

However, the Pottery Barn clock is made of metal whereas this is plastic and a bit scuffed.
{focusing on the positive!} 

Should I have been more patient and added a few more months to the few years of waiting??? Hmmmm. 
Fortunately, I was very much wanting to replace the neon green digital clock by the bed in the guest room.

I like to think it will make guests happy.


Wednesday, August 10, 2011

Little Date Night Idea


My husband and I have always struggled a bit to make "date night" happen.  Having our first baby nine months into marriage with the twins following less than two years later didn't exactly help. ;)

However, lately we've been going out about once every two weeks and I attribute our sudden zeal to Bonefish Grill's Bang-Bang Shrimp Wednesday.
{our city is sadly lacking in quaint little independent restaurants, so we take what we can get!}


Every Wednesday they offer their Bang-Bang shrimp appetizer for just $5.  And it is YUMMY.   We usually share one and then another order, and split one of their nice side salads, giving us nice little dinner out for less than $20.
{their bread and dipping pesto/oil is also quite nice}


And you get to use chopsticks to eat it with, and eating with chopsticks just makes food feel like special fun.


The key to our success was that this deal happens Every Wednesday, so every Wednesday my sweetheart started thinking,  It's Bang-Bang Shrimp night....let's call a sitter.  Once we did it two or three times every couple weeks, the loveliness of getting out together was pretty firmly set in our list of priorities. 

And you better believe that I'm feeling pretty happy about that. ;)


Tuesday, August 9, 2011

Thoughtfulness in Threes


  Last week I was so blessed with three most thoughtful gestures from dear friends.

An unexpected nice, long letter from a dear friend in Texas,
who also happens to be a Spencerian calligrapher 
- it makes each letter feel like the finest gift.


 A sweet gift a friend picked up while she was vacationing in Oregon. 
Isn't this such a lovely little idea?  So excited to use them.


A completely cheerful pile of handmade dishcloths made for me by a friend visiting from Iowa.
She actually let me pick them out of a whole bagful - it was quite the difficult choice. ;)


Such thoughtfulness all in one week!
  
Feeling quite cheered, encouraged, and inspired much.


Monday, August 8, 2011

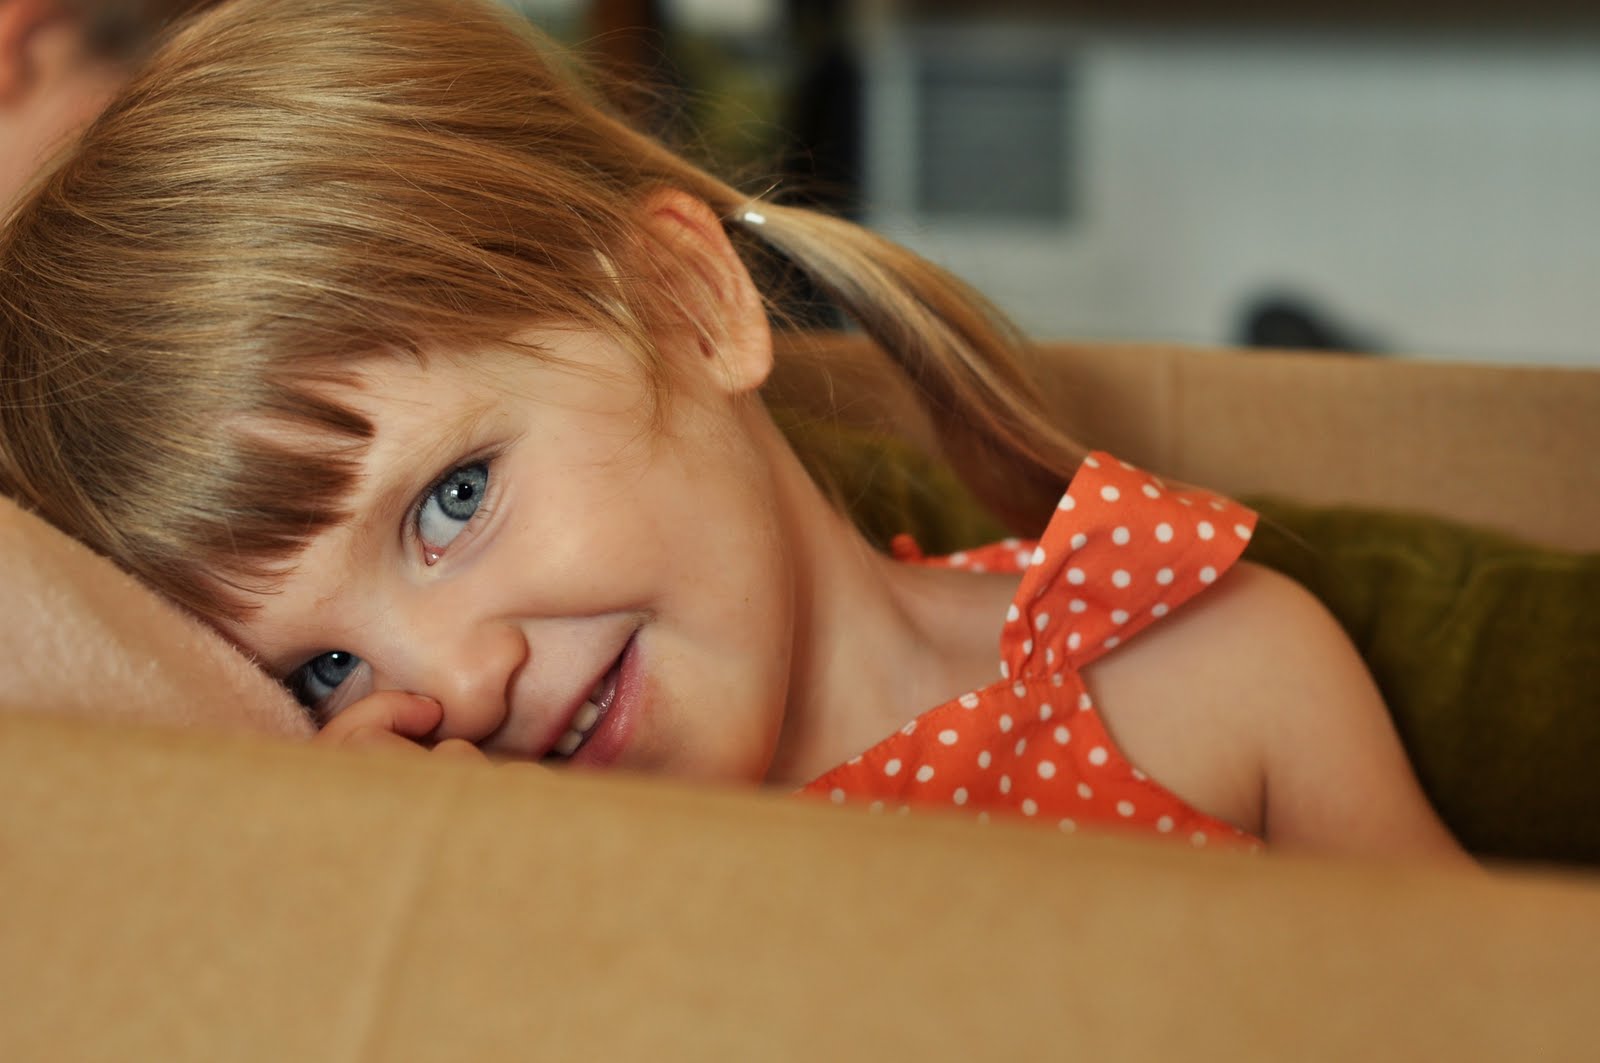
Kiddos-in-a-Box


Kiddo One,
Delighting in the joy of a cardboard box.


Snuggling down. 


And peeking out with precious smile.


Kiddo Two,
Showing off little feet.


Surprising Mama,


And verily making her heart burst. :) 


Friday, August 5, 2011

New Chipper Knobs


Back when I received my very first ever package from this place, these little knobs came along in the box.  At a dandy $2.95 a piece on clearance, I figured I couldn't go wrong.


One of the old knobs on my front closet fell apart.


So now they've been happily replaced by something a bit unique.


{Linking to Bowl Full of Lemons}

Thursday, August 4, 2011

Completey Oblivious

 I've never been much of a shoe girl.  Comfort has always ranked pretty high, which means I have a long, complacent history with Dansko and Birkenstock.
Buying cute little sale shoes like these last month was a fun little aberration.

However. Yesterday I received an Anthropologie magazine in the mail. 
{They have my address now that I got that little yellow card}


I don't think I've ever seen anything like these.


I really had no idea -


Shoes this cute existed.  These oxfords take the cake.
Could they be more adorable??


 And yellow! 
I discovered the happiness of yellow shoes with my little $9 felt Mary Jane's from Target last year - they were so lovely, I quite wore them out. 


The problem is that with these shoes being oblivious was a good, safe thing - the prices!
I can't even fathom paying that much for something on my feet.

I will simply have to impress upon my brain that these shoes must be terribly uncomfortable to wear. :)


Tuesday, August 2, 2011

Party Details & No-Spill Mason Jar Tut

 So here's some some of the details from the twin's Ice Cream Party in yesterday's post. One of my very favorite details were these lidded, no-spill mason jar cups for the kiddos.


This idea is not original, but I did make them my own way.  This lovely lady used a drill to make the straw hole and then a file to file down the sharp ends, but I always try to avoid using power tools if at all possible! So I wondered if just using an everyday paper hole-punch would do the trick.  

Here's all my supplies.


It worked beautifully. This is just a picture to show you, and the lid is already painted.  You'll want to make the wholes first and then spray paint the lids.


The lovely part was that the paper straw fit the punch hole perfectly - nice and snug to truly provide no-spills.
 

Now here are the little party favors.  These are ice cream bottles of bubbles found in the party favor section at Target.  I wanted to tie ribbon on, but the angle of the cone was such that it was impossible, so I just ran a line of hot glue around the cone and attached the ribbon that way.


The kiddos were completely smitten.


Other party details and sources:

Straws: Garnish
Ice Cream Bubble Favors: Target
Ribbon: Hobby Lobby
Bow-Tie: Sister
Hair Flower: Sister
Bunting: This Post
Yellow Stripe Fabric: Thrifted

Food
Vanilla Bean Ice Cream
Strawberry Wafer Cookies
Maraschino Cherries
Coconut
Mint Pariels
Wilton's Sprinkles
Chocolate and Strawberry Syrup
Sugar and Regular Ice Cream Cones


See other Tutorials {HERE}


Monday, August 1, 2011

Ice Cream Party for 2 & 1/2 Year Olds

Over the weekend we celebrated our 2 and 1/2 year-old twins.  No, we do not think our children need more than one birthday a year!  But since their actual birthday is December 29th and nobody seems quite ready for a birthday party four days after Christmas, the last two years we've had a party for them on their half-birthday {or thereabouts :)} instead.  It feels a little odd, and I don't know if it'll fly when they get older but for now, it works and it's quite lovely to be able to be celebrate outside on a warm summer day.


Here's the little Ice Cream Party we threw.  I decided to do ice cream to make it a little less formal since we did have a little cake with singing and candles on their birthday in December {just no party or presents}.


It worked out superbly.


My greatest satisfaction with the party details was the colors.  I started with this little dress from Janie and Jack for inspiration.  


Then got the fabric for the bunting I showed you last week.  The fabric behind the table is actually a thrifted duvet cover my Sister found awhile ago. Perfect.
And the little man's bow-tie was made by my Sister out of left-over bunting fabric. Love it!
{And no, I did not force my little man to wear a tie on his birthday - by some happy chance my boys are actually excited to get to wear ties. I think they see it as their compensation for not getting girlie things like nail polish and purses :)}


It was quite fun finding foods and supplies that worked with the color scheme.


I'll post about the details, including a couple other little party projects and sources tomorrow... and more pictures, of course. ;)


My greatest dissatisfaction with the party came from the challenge of trying to both throw a party {i.e. manage and enjoy it!} and photograph a party... many hurried, blurry ones.
Does anyone else find this nearly impossible to do?
And though I tried prepare wisely and early I still ended up throwing everything on the table in the last ten minutes without as much thought as I would have liked.  Oh well.


It is worth considering why go to this amount of work for birthdays!  And honestly I do it largely just for the creative satisfaction of it - it's just very great fun to put together.  But I hope that if not fully now, someday my kiddos will look back at their childhood pictures and see that their mother counted it a great joy to make big to-do for them. 


Overall it was a happy, sweet time together.


And getting to see the happy delight on these two faces...


...that, of course, was the cherry on top.


See the Party Details, Sources & Lidded Mason Jar Tutorial {HERE}