Yesterday I was determined to have pinwheels, so I made them right quick. I knew that once you saw them you would feel the same way, so I made a little tutorial to show you how. :)
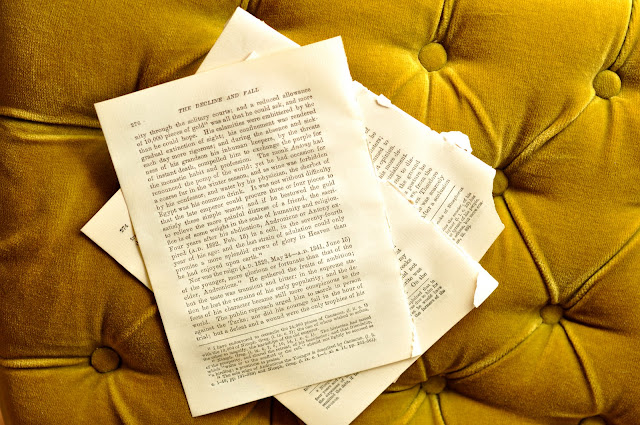
First tear the pages out of your beloved, falling-apart copy of the Decline and Fall of the Roman Empire Part II. And lament the loss of all the useful things you might have learned had you ever read it. (sigh)
Measure and cut out a perfect square - this is a 4"x4" square. And use a pencil to draw to lines from corner to corner, like so.
Now, starting from each corner, cut along the line until your about 1/2 inch from the center, like so.
Then using a hot glue gun, put a dab in the center and then fold and press first one and then two corners to the middle. (You could do one corner at a time, but I found I could make one dab work for two)
Here's my purty hand showing you how.
And here's the finished darling.
Then you'll need some of these cutie little clothes pins. I got mine in the office section of the Walmarts, but you could also just hot glue your pinwheels to the string.
And here they are making fun reflections in the mirror.
And here's my little Spring display, featuring my truly beloved copy of Northanger Abbey found at a sweet little bookshop in Bath.

And here's me, trying to get a pic without the pinwheel reflections and hoping that you have yourself some fun hanging up some lovely pinwheels about your home today.

{Linking to Blue Cricket Design , Lollipops and Just a Girl and Funky Junk Interiors}


oh fun! i want to make some.
ReplyDeleteWhat a sweet little project! The pinwheels look so pretty with your Spring display (-:
ReplyDelete~Kate
(visiting from Lollipops)
SO SO cute!!! I have been stockpiling ideas for my son's circus birthday party and this is a great idea for part of the decorations! Bright colored pinwheels everywhere?! LOVE! Thanks for the tutorial!!
ReplyDeletexoxox Holly
these are so so cute.. love them! I am participating in WILW too.. great tutorial!
ReplyDeleteCailan ~ they're so fun! Your tutorial was great, and we especially loved getting to *almost* see your sweet self in that pic! :) And those lovely old books... like a faraway friend. Miss you!
ReplyDelete~Jaimee and Jennifer
Oh my kids and I are going to make these today! No school....looking for things to do (:
ReplyDeletesooo cute!!!!
ReplyDeleteSo adorable. Love that you used some pages from a book. What a fun look. I think I'll make some of these for summer. So perfect.
ReplyDeleteThose are adorable! Thanks for the tutorial...the wheels are definitely turning in my head now!
ReplyDeleteLove them! If I wasn't at work I would be whipping these up pronto and right now!
ReplyDeleteAdorable. Have a great day.
~Pam
pamspaintparlor.typepad.com
Those are so cute! I love book page projects, and these are so cute and simple! I like how you hung them in front of the mirror. Great instructions too!
ReplyDeletewww.inside-outdesign.blogspot.com
I Love pinwheels!
ReplyDeleteSo adorable! I love everything about your house. It's just beautiful! Happy to have found your pretty blog via the home tour. I'm your newest follower!
ReplyDeleteThanks for sharing.
love love love. okay, I found your blog thru Life made lovely this morning and I feel like every post i open I am going to have to make. Loving your blog! I am a follower.
ReplyDelete